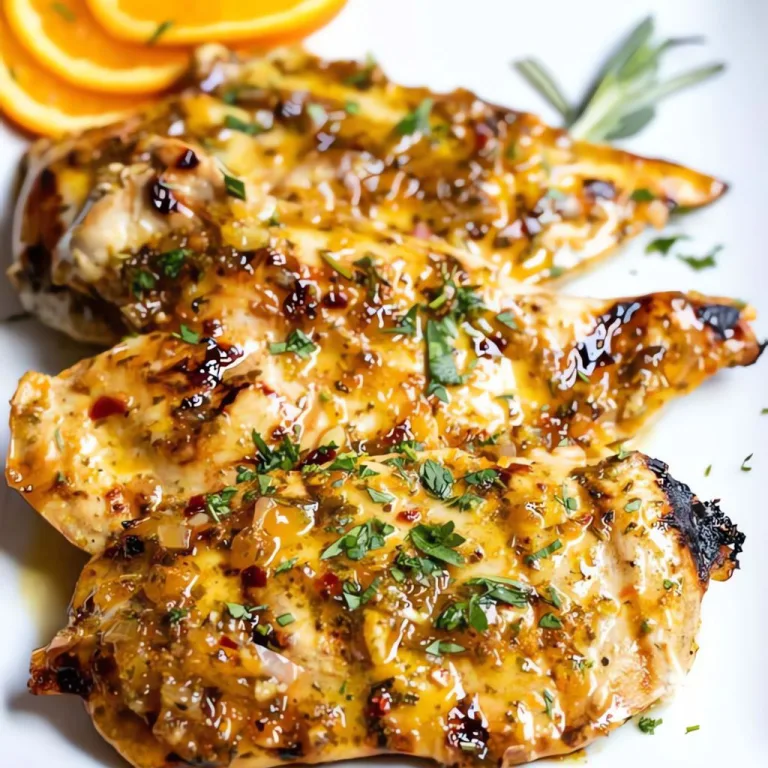
I recently made this Chili Garlic Chicken Wings Recipe, and I can’t stop raving about them! The crispy texture, combined with the sweet and spicy garlic chili glaze, creates a flavor explosion like no other. They were the highlight of my game night, disappearing off the plate in no time.
I even caught my friends sneaking back for seconds (and thirds)! The best thing? They’re so easy to make. No need for fancy ingredients or kitchen tricks. Whether it’s for your next gathering or a quiet evening with a delicious treat, these wings are guaranteed to hit the spot.
What You’ll Need to Create Perfectly Crispy Wings
Every ingredient has its role in making these wings a crunchy, flavor-packed delight.
For the Wings
- 2 pounds chicken wings: Fresh wings are always better for crisping up nicely.
- 1 tablespoon soy sauce: Adds depth and savory notes to the wings.
- 2 tablespoons cornstarch: The secret to achieving that light, crunch-perfect coating.
- 1 teaspoon smoked paprika: Infuses a subtle smoky flavor.
- 1 teaspoon salt: Enhances flavors.
- 1/2 teaspoon black pepper: Balances the seasoning.
For the Chili Garlic Sauce
- 1/4 cup chili sauce: The source of heat and tangy sweetness.
- 2 tablespoons butter: Adds richness and helps the sauce coat the wings.
- 2 garlic cloves, minced: Infuses bold, aromatic flavor.
- Fresh parsley, finely chopped (for garnish): Adds a pop of freshness and color.
Note: Serves 4 as an appetizer or 2 as a main dish.
Variations to Match Your Preferences
This recipe is totally flexible! Check out these ideas to tweak it to your liking.
- Make it Gluten-Free: Substitute soy sauce with tamari or coconut aminos.
- Air-Fried Crispy Wings: Cook them in the air fryer at 400°F for 15 minutes. Flip halfway for an evenly crispy finish.
- Turn Up the Heat: Add fresh chili flakes or cayenne for an even spicier kick.
- Go Sugar-Free: Swap regular chili sauce for a sugar-free version to make keto-friendly wings.
Cooking Time Breakdown
Your time investment here is minimal for maximum flavor output.
- Prep Time: 10 minutes
- Cooking Time: 40 minutes
- Total Time: 50 minutes
Get Your Kitchen Gear Ready
Here’s a quick checklist of what you’ll need to make these wings effortlessly.
- Baking sheet with a wire rack: Elevates the wings for optimal crispness.
- Parchment paper: Prevents sticking and makes cleaning up easier.
- Mixing bowl: For seasoning and coating the wings.
- Tongs: Help flip the wings and toss them in the sauce.
- Saucepan: To prepare the savory chili garlic sauce.
How to Make Chili Garlic Chicken Wings?
Making these wings is as enjoyable as eating them. Follow these steps for perfectly crispy, flavor-loaded results.
Prep and Season
Preheat your oven to 400°F (200°C). Start by separating your wings into flats and drumettes if they aren’t already cut. Pat them completely dry using paper towels to remove any excess moisture. This is crucial for a crispy finish. Toss the wings in a mixing bowl with the soy sauce, cornstarch, smoked paprika, salt, and pepper. Stir them well to ensure each piece is evenly coated.
Bake Until Golden
Line a baking sheet with parchment paper and place a wire rack on top. Arrange the wings in a single layer, ensuring they aren’t crowded for even cooking. Bake for 20 minutes, then flip them over and bake for another 20 minutes. The wings should come out golden brown, crispy, and perfect!
Prepare the Chili Garlic Sauce
While the wings are baking, melt the butter in a small saucepan over medium heat. Add the minced garlic and sauté until fragrant, about one minute. Stir in the chili sauce and a pinch of parsley, simmering the mixture gently for three to four minutes to meld the flavors. The sauce should be slightly thickened and ready to coat the wings.
Toss and Coat
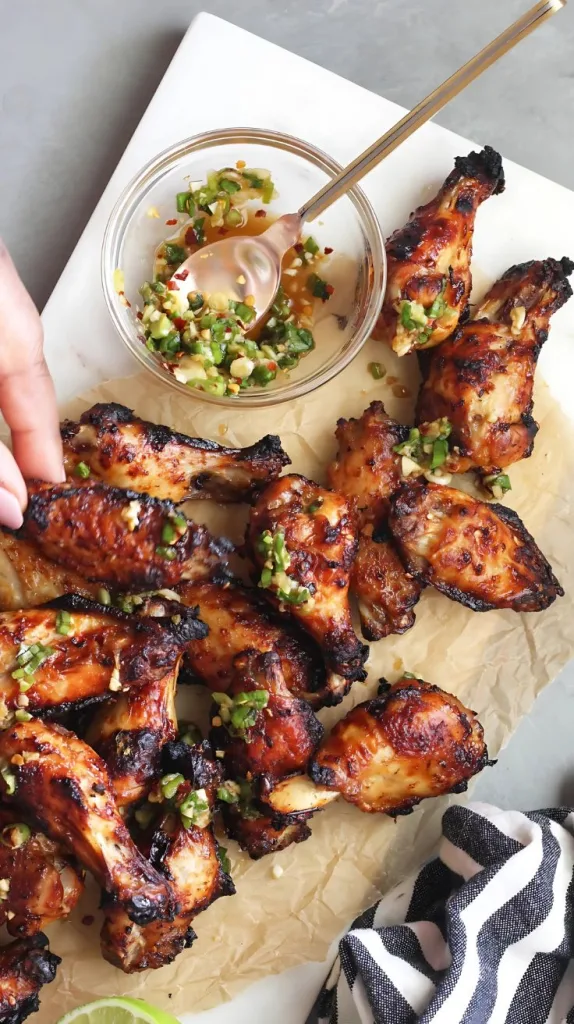
Transfer the baked wings into a large bowl while they’re still hot. Pour the warm, sticky chili garlic sauce over them. Using tongs, gently toss the wings until every single piece is drenched in that delicious glaze.
Serve and Enjoy
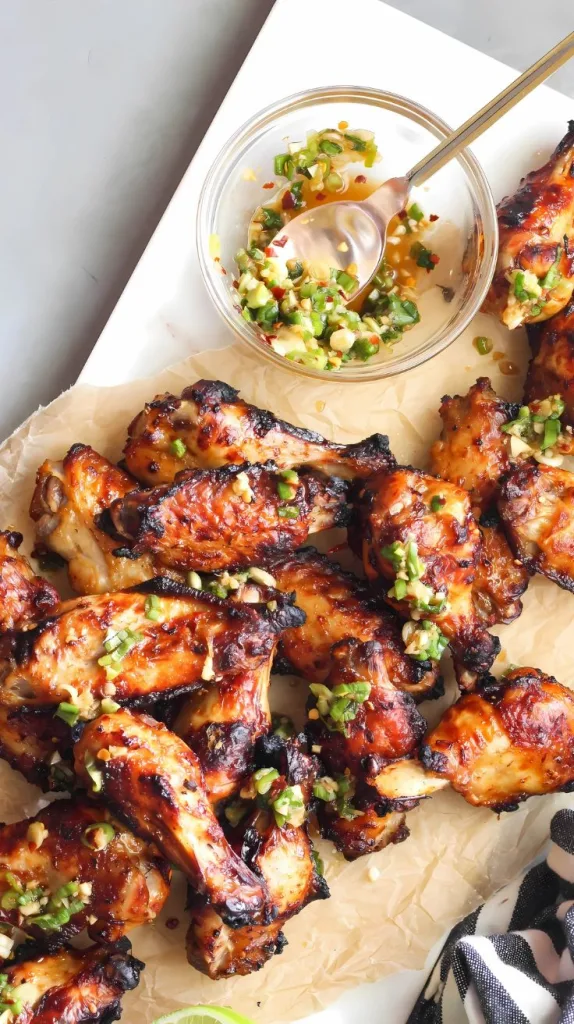
Arrange the saucy wings on a large serving platter, garnished with a sprinkle of chopped parsley for a fresh pop of color. Serve hot with your favorite dips or sides, and watch them disappear in no time!
Extra Tips to Make Your Wings Perfect
From my own kitchen trials, here are some tips to elevate your wing game.
- Dry the Wings Thoroughly: This step is key for crispiness, so don’t skimp on blotting them dry.
- Avoid Overcrowding the Rack: Give the wings space to breathe to ensure even cooking and crisp skin.
- Customize the Heat: Feel free to adjust the chili sauce to your spice tolerance. Add cayenne for heat or a touch of honey for sweetness.
- Flip for Even Cooking: Flipping the wings halfway ensures even crisping on both sides.
How to Serve Chili Garlic Chicken Wings?
These wings are a standout no matter how you serve them. For gatherings, create a complete snack platter with crisp carrot and celery sticks, plus ranch or blue cheese dressing for cooling contrast. If you’re having them as a meal, pair the wings with warm garlic rice, buttery noodles, or a tossed green salad for a satisfying combo.
Don’t forget to garnish with lemon wedges or extra parsley for a visually vibrant and mouthwatering presentation!
Nutritional Information
Here’s what you’re looking at nutritionally per serving of these unforgettable wings.
- Calories: 474
- Protein: 15g
- Carbohydrates: 15g
- Fat: 40g
Make Ahead and Storage
Planning ahead or using leftovers? Here’s how to store and reheat these wings.
- Make Ahead: Bake the wings ahead of time and toss them in the sauce when ready to serve. This saves you the time and stress during event prep.
- Refrigeration: Store leftovers in an airtight container in the fridge for up to three days. Reheat in the oven to restore the crisp coating.
- Freezing: Freeze unsauced, cooked wings for up to two months. Thaw overnight and reheat before adding the sauce.
Why These Wings Will Be Your New Favorite?
Here’s why you’re going to fall in love with this recipe.
- Crisp Yet Healthier: Baking delivers all the crunch without the extra oils from frying.
- Customizable Spice Levels: Perfectly adjustable for everyone’s preferences.
- Simple Crowd-Pleaser: Easy to prepare yet impressive in flavor and looks.
- Versatile Serving Options: Great as an appetizer or paired with a variety of main dishes.
- Restaurant-Style at Home: Get those professional pub-quality wings right from your own oven.
These Chili Garlic Chicken Wings are mouthwatering from the first bite to the last. They’re bold, crispy, and full of flavor, perfect for any occasion or a casual night at home. Give them a try, and you won’t regret it!

Chili Garlic Chicken Wings Recipe
Ingredients
For the Wings:
- 2 pounds chicken wings fresh, not frozen
- 1 tablespoon soy sauce
- 2 tablespoons cornstarch
- 1 teaspoon smoked paprika
- 1 teaspoon salt
- 1/2 teaspoon black pepper
For the Chili Garlic Sauce:
- 1/4 cup chili sauce
- 2 tablespoons butter
- 2 garlic cloves minced
- Fresh parsley finely chopped (for garnish)
Instructions
- Preheat your oven to 400°F (200°C). Start by separating your wings into flats and drumettes if they aren’t already cut. Pat them completely dry using paper towels to remove any excess moisture. This is crucial for a crispy finish. Toss the wings in a mixing bowl with the soy sauce, cornstarch, smoked paprika, salt, and pepper. Stir them well to ensure each piece is evenly coated.
- Line a baking sheet with parchment paper and place a wire rack on top. Arrange the wings in a single layer, ensuring they aren’t crowded for even cooking. Bake for 20 minutes, then flip them over and bake for another 20 minutes. The wings should come out golden brown, crispy, and perfect!
- While the wings are baking, melt the butter in a small saucepan over medium heat. Add the minced garlic and sauté until fragrant, about one minute. Stir in the chili sauce and a pinch of parsley, simmering the mixture gently for three to four minutes to meld the flavors. The sauce should be slightly thickened and ready to coat the wings.
- Transfer the baked wings into a large bowl while they’re still hot. Pour the warm, sticky chili garlic sauce over them. Using tongs, gently toss the wings until every single piece is drenched in that delicious glaze.
- Arrange the saucy wings on a large serving platter, garnished with a sprinkle of chopped parsley for a fresh pop of color. Serve hot with your favorite dips or sides, and watch them disappear in no time!
Notes
- Dry the Wings Thoroughly: This is crucial for getting that crispy texture.
- Customize the Spice: Adjust the chili sauce for your desired heat level.
- Storage: Store leftovers in an airtight container for up to 3 days, and reheat in the oven for crispiness. You can also freeze unsauced wings for up to 2 months.