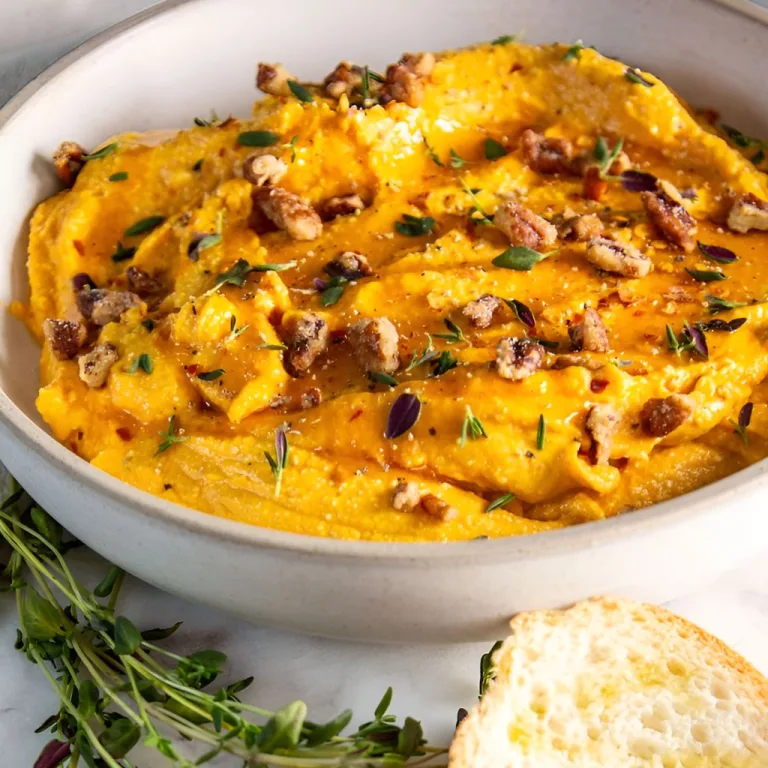
I still remember the first time I made these Tater Tot Appetizer Cups. They were unbelievably simple to prepare, and the flavors? Oh, they were magical! Watching my family and friends grab these crispy little cups off the tray and go back for seconds (and thirds) made me so happy. I’ve since made them for countless occasions, and they’re always a huge hit. If you like bite-sized dishes, you can also enjoy similar appetizers for your gatherings. Trust me, you’ll love how creative and fun these tiny bites are to make and eat.

Ingredients
tater tots – 48 pieces
ground beef or chicken – 1 cup (cooked and seasoned)
shredded cheese (cheddar or mozzarella) – 1 cup
diced onion – 1/2 cup
sour cream – 1/2 cup
ranch dressing – 1/4 cup
taco seasoning or preferred seasoning – 2 teaspoons
green onions or cilantro for garnish – to taste
Note: This recipe makes 12 tater tot cups.
Variations
The versatility of these cups is amazing. Here are some ways to switch things up for different tastes and dietary needs.
- Taco Twist: Use taco-seasoned ground beef, salsa, shredded lettuce, and guacamole.
- Breakfast Option: Add scrambled eggs, bacon bits, and shredded cheese.
- Vegetarian-Friendly: Fill with sautéed veggies or black beans.
- BBQ Style: Use shredded BBQ chicken and top with coleslaw.
- Italian Flair: Load with marinara, mozzarella, and Italian sausage.
Cooking Time
- Prep Time: 15 minutes
- Cooking Time: 30 minutes
- Total Time: 45 minutes
Equipment You Need
- Muffin tin: To shape and bake the tater tot cups.
- Spoon or small cup: For pressing the tots into cup shapes.
- Non-stick spray or olive oil: Prevents sticking and helps release the cups easily.
How to Make Tater Tot Appetizer Cups?
It’s time to get those tots ready! Follow the steps below and you’ll have a tray of irresistible appetizers in no time.
Step 1: Prep the Muffin Tin 🧈
Preheat your oven to 425°F (220°C). Grease a 12-cup muffin tin lightly with olive oil or spray. This step ensures the tater tot cups pop out easily after baking.
Step 2: Bake the Tater Tot Base 🥔
Place 6 tater tots into each muffin cup. Use your fingers to arrange them tightly into a circular base. Pop the tray into the oven and bake for 15 to 20 minutes. Once they look golden and crispy, remove the tray and press down the tots gently with a spoon to form a cup shape. Return them to the oven for another 5-7 minutes.
Step 3: Prepare the Filling 🍖
While the tots are baking, cook your protein. Brown ground beef (or your protein of choice) in a skillet, adding seasonings like taco spice or garlic powder. Sauté until fully cooked. Chop any other toppings like onions, cilantro, or shredded cheese while the meat cools.
Step 4: Assemble the Cups 🍴
Now comes the fun part. Carefully spoon the seasoned protein mixture into each tater tot cup. Sprinkle shredded cheese generously over the top. For an extra touch of creaminess, drizzle some ranch dressing or add a dollop of sour cream.
Step 5: Melt and Garnish 🌿
Return the assembled cups to the oven for a final 5-7 minutes, just long enough to melt the cheese. Once out, garnish each cup with chopped green onions, fresh cilantro, or even jalapeños for a little kick. Serve warm and watch them disappear!

Why You’ll Love This Recipe?
These tater tot cups are more than just delicious. Here’s why they’re irresistible!
- Simple to make: The steps are easy, and even beginners can make this recipe.
- Customizable: You can add your favorite fillings or adjust for specific diets.
- Party-perfect: Great for gatherings, potlucks, or even game nights.
- Kid-friendly: Picky eaters will adore these crispy, cheesy treats.
- Diet versatility: Swap ingredients to suit vegetarians or other preferences.
Tips for Making the Recipe
- Don’t overfill the cups: Filling them too high might make them difficult to eat (and messy!). Stick to small scoops.
- Use fully-cooked fillings: Ensure your proteins and toppings are cooked before assembling, as the final bake is primarily for melting and crisping.
- Choose the right tater tots: Go for classic tots without extra seasoning so they don’t overpower the flavors of the filling.
How to Serve Tater Tot Appetizer Cups?
For an impressive presentation, arrange the cups neatly on a large serving platter. Garnish with fresh herbs and add a few small bowls of dipping sauces like guacamole, salsa, or a creamy ranch. Want to wow your guests? Set up a “DIY topping bar,” letting everyone add their favorite extras.

Nutritional Information
Here’s a quick nutritional overview per cup (approximate values):
- Fat: 6g
- Calories: 120
- Protein: 5g
- Carbohydrates: 8g
Make Ahead and Storage
If you’re planning to prepare these ahead, don’t worry! Here’s how to keep them fresh and tasty.
Refrigeration
You can refrigerate the baked cups (without toppings) in an airtight container for up to 3 days. When ready to serve, reheat in the oven at 350°F for 10 minutes, then add fresh toppings before serving.
Freezing
For longer storage, freeze the baked and cooled cups on a tray. Once frozen, transfer them to a sealed freezer bag. They’ll stay fresh for up to 2 months. To reheat, bake straight from frozen at 400°F for about 15 minutes. Add toppings after reheating.
Enjoy experimenting with this recipe and making it your own. Tater Tot Appetizer Cups are sure to become your go-to snack for every occasion!
Tips for Making the Recipe
From my own experience, here are a few things to keep in mind for the best result.
- Don’t overfill the cups, or they might overflow and get messy.
- Choose plain tater tots without heavy seasoning, so you can control the flavor.
- Press the tots firmly to shape well-defined cups but don’t crush them.
- Cooked fillings work best, as the short final bake won’t fully cook raw toppings.
Step-by-step help in this video:

Tater Tot Appetizer Cups Recipe
Ingredients
- tater tots – 48 pieces
- ground beef or chicken – 1 cup cooked and seasoned
- shredded cheese cheddar or mozzarella – 1 cup
- diced onion – 1/2 cup
- sour cream – 1/2 cup
- ranch dressing – 1/4 cup
- taco seasoning or preferred seasoning – 2 teaspoons
- green onions or cilantro for garnish – to taste
Instructions
- Preheat your oven to 425°F (220°C). Grease a 12-cup muffin tin lightly with olive oil or spray. This step ensures the tater tot cups pop out easily after baking.
- Place 6 tater tots into each muffin cup. Use your fingers to arrange them tightly into a circular base. Pop the tray into the oven and bake for 15 to 20 minutes. Once they look golden and crispy, remove the tray and press down the tots gently with a spoon to form a cup shape. Return them to the oven for another 5-7 minutes.
- While the tots are baking, cook your protein. Brown ground beef (or your protein of choice) in a skillet, adding seasonings like taco spice or garlic powder. Sauté until fully cooked. Chop any other toppings like onions, cilantro, or shredded cheese while the meat cools.
- Now comes the fun part. Carefully spoon the seasoned protein mixture into each tater tot cup. Sprinkle shredded cheese generously over the top. For an extra touch of creaminess, drizzle some ranch dressing or add a dollop of sour cream.
- Return the assembled cups to the oven for a final 5-7 minutes, just long enough to melt the cheese. Once out, garnish each cup with chopped green onions, fresh cilantro, or even jalapeños for a little kick. Serve warm and watch them disappear!
Notes
- Don’t overfill the cups, or they might overflow and get messy.
- Choose plain tater tots without heavy seasoning, so you can control the flavor.
- Press the tots firmly to shape well-defined cups but don’t crush them.
- Cooked fillings work best, as the short final bake won’t fully cook raw toppings.