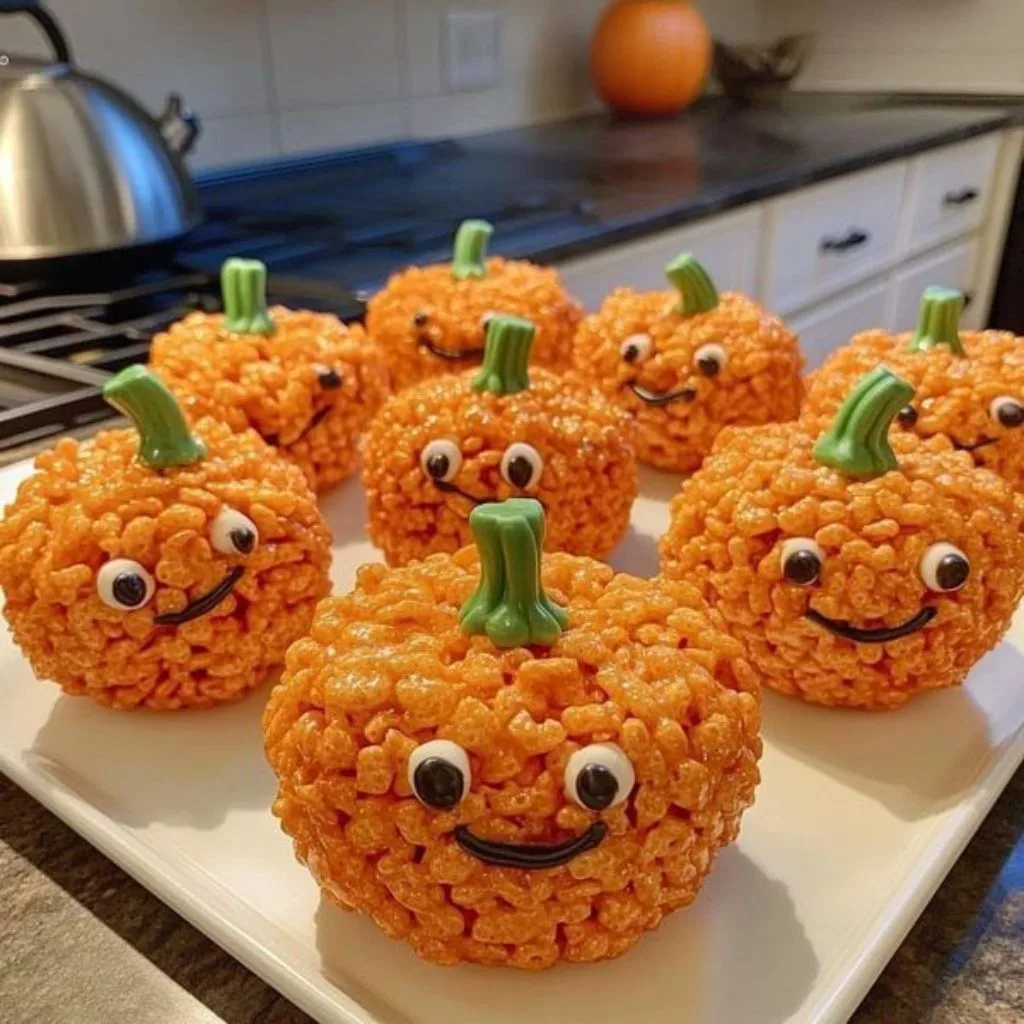
I recently gave this Rice Krispie Treat Pumpkins Recipe a try, and I just have to say, they came out absolutely adorable! Not only were they a blast to make, but they were also delicious and perfect for the Halloween season.
Seeing the little pumpkin-shaped treats come together was so satisfying. My kids had a great time decorating them, and honestly, I found it just as fun! There’s something special about turning a simple dessert into a festive, seasonal creation.
Plus, as someone who isn’t exactly a professional baker, I appreciated how quick and foolproof this recipe is. Whether you’re planning a Halloween party or just want a fun activity for a cozy weekend, this recipe has you covered. Trust me, once you try it, it’ll become a must-have on your fall treat list!

Why You’ll Love This Recipe?
With this recipe, you’re in for a treat (pun intended!). It’s not just about the finished pumpkins; it’s the fun and creativity that make it a hit. Here are some great reasons you’ll love making these:
Easy to Prepare
This recipe is wonderfully simple. You only need a few ingredients and basic steps to create these festive treats. Even if you aren’t super confident in the kitchen, you can’t go wrong with this no-bake recipe. Everything comes together in a single pot with minimal cleanup afterward, making it quick and mess-free.
Family-Friendly Activity
If you’re looking for a fun way to spend time with kids, this recipe is perfect. Kids love getting hands-on with shaping the pumpkins and adding decorations like stems and leaves. It’s a great way to bring the family together while letting everyone’s creative side shine.
Customizable Flavor
One of the best things about this recipe is the flexibility. You can tweak the flavors by adding things like cinnamon, vanilla extract, or even chocolate drizzle. If you’re feeling adventurous, you can also use flavored marshmallows for a unique twist.
Perfect for Any Occasion
Although these treats scream “Halloween,” they aren’t limited to just one holiday. You can change the colors with different food dyes and adapt the decorations for other seasons or celebrations, like green trees for Christmas or pink hearts for Valentine’s Day.
Kid-Approved and Crowd-Pleasing
Who doesn’t love Rice Krispie treats? Add a charming pumpkin design, and you’ve got a snack that pleases both kids and adults alike. They’re sure to be the centerpiece at your next gathering!
Cooking Time
Here’s how much time you’ll need for making these treats:
- Prep Time: 15 minutes
- Decorating Time: 15 minutes
- Total Time: 30 minutes
Ingredients
- Rice Krispies cereal – 6 cups
- Unsalted butter – 4 tbsp (1/2 stick)
- Mini marshmallows – 10 oz
- Orange food coloring – a few drops
- Green fruit roll-ups – 2 sheets
- Pretzel sticks – 8-10 sticks
Variations
If you love experimenting, try these variations to make the recipe suit different dietary needs or taste preferences:
- Dairy-Free: Swap the butter for a plant-based alternative like vegan margarine.
- Sugar-Free: Use sugar-free marshmallows and cereal, though note that they may change the flavor slightly.
- Add Flavor: Sprinkle in some pumpkin spice or vanilla extract to the marshmallow mix for an extra punch of fall flavor.
- Colors: Substitute orange with other food colors depending on the theme of your event.
Equipment You’ll Need
Here’s a quick guide to the tools required and their uses:
- Large saucepan: For melting butter and marshmallows.
- Wooden or silicone spoon: To stir the sticky marshmallow mixture.
- Wax paper or baking sheet: To cool and set the treats.
- Butter or cooking spray: To grease your hands and prevent sticking.
How to Make Rice Krispie Treat Pumpkins?
Making these pumpkin treats is as fun as eating them. Follow these simple steps to get started!
Step 1: Prepare the Marshmallow Mixture 🧈
Melt butter in a large saucepan over low heat. Once melted, add the mini marshmallows and stir until completely smooth. Add a few drops of orange food coloring for the signature pumpkin shade, and stir until evenly combined.
Step 2: Mix in the Rice Krispies 🍚
Gently fold in the Rice Krispies cereal until every piece is well-coated in the marshmallow mixture. Make sure to work quickly so the mix doesn’t harden too fast.
Step 3: Shape Your Pumpkins 🎃
Lightly grease your hands with butter or cooking spray. Scoop a portion of the mixture, roll it into a ball, and flatten the top slightly to resemble a pumpkin. Use your fingers to shape ridges along the sides for extra detail.
Step 4: Add Stems and Leaves 🌿
For the final touch, roll a piece of green fruit roll-up into a mini stem shape. Attach it to the top of the pumpkin along with a pretzel stick inserted firmly for support.
Step 5: Cool and Serve ❄️
Place the pumpkins on a wax paper-lined tray, allowing them to set for around 30 minutes. Once cooled, they’re ready to serve and enjoy!
Tips for Making the Recipe
- Work Quickly: The marshmallow mix can harden fast, so shape each pumpkin while the mixture is still warm.
- Grease Is Your Best Friend: Avoid sticky situations by keeping your hands and tools lightly greased.
- Keep It Fresh: Use fresh marshmallows and cereal for the best taste and consistency.
- Mind the Color: Start with small amounts of food coloring; you can always add more if needed.
How to Serve Rice Krispie Treat Pumpkins?
These Rice Krispie Treat Pumpkins are versatile and can be served in several fun ways. Arrange them on a platter lined with parchment paper for a rustic fall vibe. For an extra festive touch, sprinkle some candy corn or mini chocolate chips around them. They’re also perfect to pack in party bags or to display on a dessert table.
Nutritional Information
Here’s an estimate of the key nutrients per pumpkin treat (depending on size):
- Calories: 120
- Protein: 1g
- Carbohydrates: 24g
- Fat: 3g
Make Ahead and Storage
Making these in advance? No problem! They’re great for prepping ahead of time and storing for later.
- Store the pumpkins in an airtight container at room temperature for up to 5 days.
- Need them to last longer? Freeze them! Wrap each pumpkin individually in wax paper and place them in a freezer-safe container. They’ll stay fresh for up to a month!
When you’re ready to serve, simply allow them to thaw at room temperature for 30 minutes.
See each step in this video:

Rice Krispie Treat Pumpkins Recipe
Ingredients
- Rice Krispies cereal – 6 cups
- Unsalted butter – 4 tbsp 1/2 stick
- Mini marshmallows – 10 oz
- Orange food coloring – a few drops
- Green fruit roll-ups – 2 sheets
- Pretzel sticks – 8-10 sticks
Instructions
- Melt butter in a large saucepan over low heat. Once melted, add the mini marshmallows and stir until completely smooth. Add a few drops of orange food coloring for the signature pumpkin shade, and stir until evenly combined.
- Gently fold in the Rice Krispies cereal until every piece is well-coated in the marshmallow mixture. Make sure to work quickly so the mix doesn’t harden too fast.
- Lightly grease your hands with butter or cooking spray. Scoop a portion of the mixture, roll it into a ball, and flatten the top slightly to resemble a pumpkin. Use your fingers to shape ridges along the sides for extra detail.
- For the final touch, roll a piece of green fruit roll-up into a mini stem shape. Attach it to the top of the pumpkin along with a pretzel stick inserted firmly for support.
- Place the pumpkins on a wax paper-lined tray, allowing them to set for around 30 minutes. Once cooled, they’re ready to serve and enjoy!
Notes
- Work Quickly: The marshmallow mix can harden fast, so shape each pumpkin while the mixture is still warm.
- Grease Is Your Best Friend: Avoid sticky situations by keeping your hands and tools lightly greased.
- Keep It Fresh: Use fresh marshmallows and cereal for the best taste and consistency.
- Mind the Color: Start with small amounts of food coloring; you can always add more if needed.


