Ingredients You Will Need
To make these delicious canned cheesecakes you will need the following items prepared and measured out. Please ensure all your dairy items are at room temperature before you begin.
- 24 ounces of full fat cream cheese (three standard blocks)
- 1 cup of granulated white sugar
- 3 large farm fresh eggs
- 1 tablespoon of pure vanilla extract
- 1 teaspoon of fresh lemon juice
- 1 cup of graham cracker crumbs
- 4 tablespoons of melted unsalted butter
- Half a teaspoon of salt
- 12 wide mouth half pint canning jars with new lids and rings
- Boiling water for the water bath
Step by Step Method
Step One: Prepare Your Jars
Begin by washing your jars and lids in hot soapy water to ensure they are perfectly clean. Rinse them well and keep them warm so they do not crack when you add the hot batter later. You can keep them in a pot of warm water or a low oven while you work on the filling.
Step Two: Make the Crust
In a medium bowl combine your graham cracker crumbs with the melted unsalted butter and a pinch of salt. Stir them together until the mixture looks like wet sand. Put about two tablespoons of this mixture into the bottom of each clean jar and press it down firmly using a small spoon or a clean thumb to create a solid base.
Step Three: Cream the Cheese
In a large mixing bowl beat the room temperature cream cheese until it is very smooth and has no lumps. It is important that the cheese is soft so you get a silky texture. Slowly add the granulated sugar and continue to mix on a medium speed until the mixture is fluffy and well combined.
Step Four: Add the Liquids
Pour in the vanilla extract and the lemon juice while you keep mixing at a low speed. These ingredients add a bright flavor that cuts through the richness of the cheese. Scrape down the sides of the bowl with a spatula to make sure everything is being incorporated evenly.
Step Five: Incorporate the Eggs
Add your eggs one at a time to the batter. Mix very gently after each egg just until it disappears into the cream. You do not want to whip too much air into the batter at this stage because air bubbles can cause the cheesecake to puff up and then sink or crack during the baking process.
Step Six: Fill the Jars
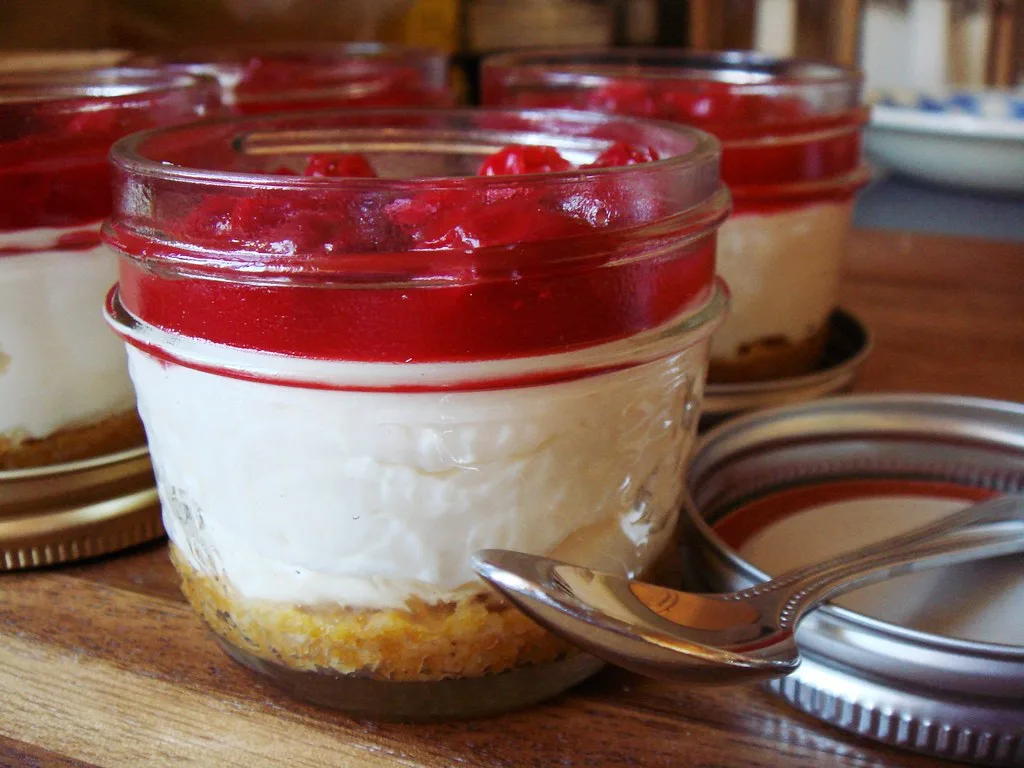
Carefully pour or spoon the cheesecake batter into each jar over the crust. Leave about one inch of space at the top of the jar which is called headspace. This space is vital because the cake will expand slightly as it cooks and you need room for the seal to form properly.
Step Seven: Prepare for Baking
Place the jars into a large deep baking pan or a roasting pan. Fill the pan with hot water until the water reaches about halfway up the sides of the jars. This is called a bain marie or a water bath and it helps the cheesecake cook slowly and evenly without burning.
Step Eight: The Cooking Process
Place the pan in a preheated oven at 325 degrees Fahrenheit. Bake them for about thirty to thirty five minutes. The centers should still have a slight jiggle when you move the pan but the edges should look set. Do not overbake them or they will become rubbery.
Step Nine: Sealing the Jars
As soon as you take the jars out of the oven wipe the rims with a clean damp cloth to remove any drips. Place the lids on top and screw the rings on until they are fingertip tight. As the jars cool down you will hear a popping sound which means the vacuum seal has formed successfully.
Step Ten: Cooling and Storage
Let the jars sit on the counter until they reach room temperature. Once they are cool you can store them in a cool dark place or put them in the fridge. For the best flavor let them chill for at least twenty four hours before eating so the texture can fully firm up.