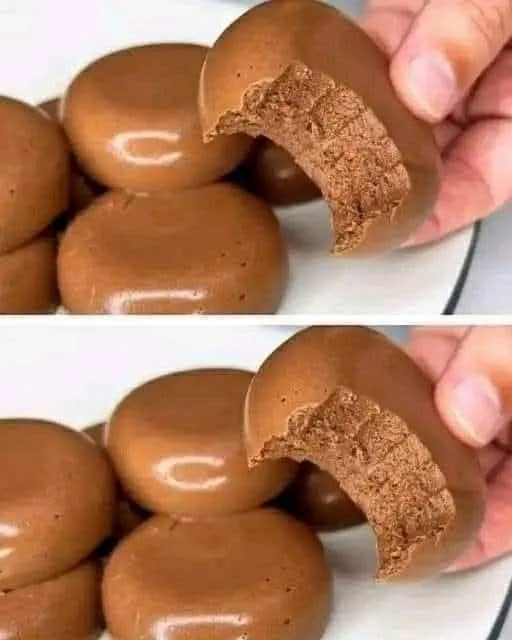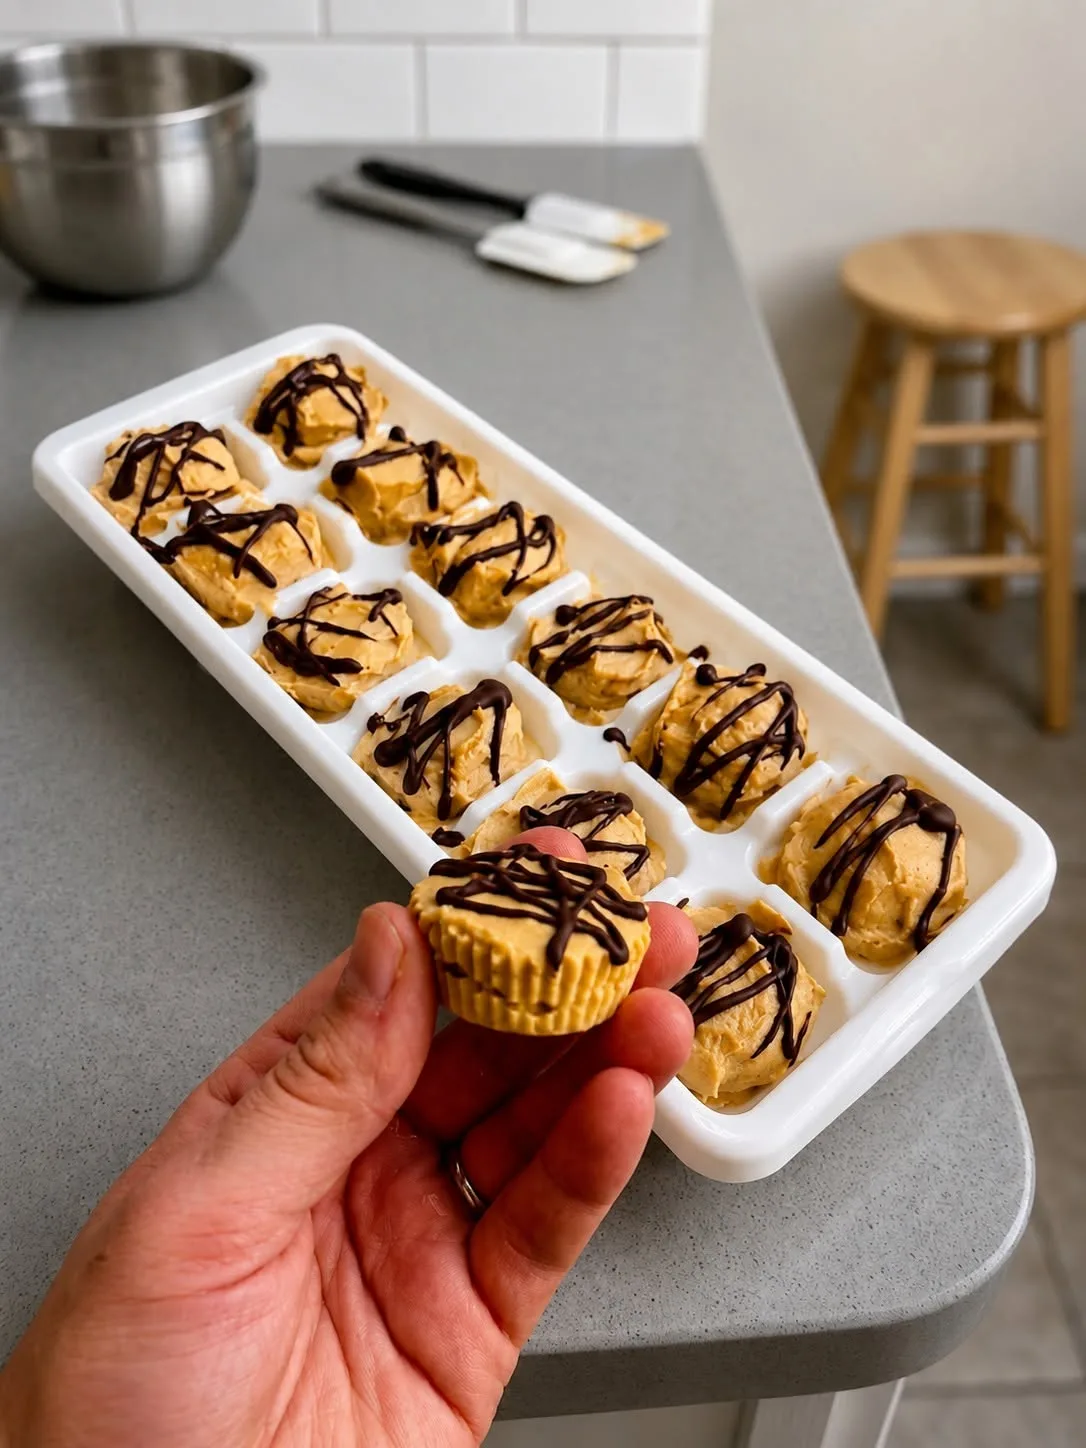
Rich chocolate and creamy peanut butter come together in these irresistible homemade Peanut Butter Cups. They’re incredibly easy to make, require just a handful of ingredients, and are perfect when you want a quick homemade chocolate treat.
Why You’ll Love This Recipe
- Only a few simple ingredients
- No complicated baking
- Creamy peanut butter center
- Rich chocolate coating
- Perfect for snacks and desserts
- Easy to customize
Perfect For
These peanut butter cups are perfect for dessert, chocolate cravings, parties, holiday treats, lunchbox snacks, and homemade gifts.
Common Mistakes to Avoid
- Using hot peanut butter — Let it cool slightly so it doesn’t melt the chocolate layer.
- Making the chocolate layer too thin — A generous bottom layer helps the cups hold together.
- Overheating the chocolate — Melt slowly to keep it smooth.
- Skipping the chill time — The cups need enough time to fully set.
Required Equipment
- 12-cup muffin tin
- 12 paper or silicone cupcake liners
- Microwave-safe bowl
- Small mixing bowl
- Spoon
- Refrigerator
Storage Instructions
Store peanut butter cups in an airtight container in the refrigerator for up to 2 weeks.
They can also be frozen for up to 3 months.
Recipe Details
Preparation Time: 15 minutes
Chilling Time: 1 hour
Total Time: 1 hour 15 minutes
Servings: 12 cups
Best Season: All-season
Total Calories (Per Serving): Approximately 190 calories
📝 Ingredients
Chocolate Shell
- 1½ cups semi-sweet or dark chocolate chips
- 1 tablespoon coconut oil
Peanut Butter Filling
- ¾ cup creamy peanut butter
- 2 tablespoons powdered sugar
- ½ teaspoon vanilla extract
- ¼ teaspoon salt
Note: For a lower-sugar version, replace powdered sugar with powdered monk fruit or erythritol.
Directions
- Prepare the muffin tin.
Line a 12-cup muffin tin with paper or silicone liners. - Melt the chocolate.
Add chocolate chips and coconut oil to a microwave-safe bowl. - Heat gently.
Microwave in 20-second intervals, stirring after each interval until smooth. - Create the bottom layer.
Spoon about 1 tablespoon of melted chocolate into each liner. Tilt or gently tap the pan so the chocolate spreads evenly. - Chill.
Place the muffin tin in the refrigerator for 10–15 minutes, until the chocolate is firm. - Prepare the filling.
In a small bowl, combine peanut butter, powdered sugar, vanilla, and salt. Mix until smooth. - Add peanut butter.
Place about 1 tablespoon of the peanut butter mixture in the center of each chocolate layer. - Cover with chocolate.
Spoon the remaining melted chocolate over the peanut butter filling, making sure it reaches the edges. - Smooth the tops.
Gently tap the muffin tin on the counter to level the chocolate. - Chill again.
Refrigerate for 45–60 minutes, or until completely firm. - Serve.
Remove the liners and enjoy chilled or slightly softened at room temperature.
Tips
- Use smooth, creamy peanut butter for the easiest filling.
- Dark chocolate gives these a richer, less-sweet flavor.
- Add a pinch of flaky sea salt on top for a sweet-and-salty finish.
- For extra crunch, stir chopped peanuts into the filling.
- If using natural peanut butter, stir it thoroughly before measuring.
Nutrition Facts
Per Peanut Butter Cup — Approximate
- Calories: ~190
- Fat: ~14 g
- Cholesterol: ~0 mg
- Sodium: ~100 mg
- Potassium: ~130 mg
- Total Carbohydrates: ~14 g
- Fiber: ~2 g
- Net Carbs: ~12 g
- Sugars: ~9 g
- Protein: ~4 g
- Calcium: ~20 mg
Nutrition values are approximate and depend on the chocolate and peanut butter used.
Notes
- Low-carb: Use sugar-free chocolate chips and powdered monk fruit/erythritol.
- Dark chocolate: Use 70–85% dark chocolate for a richer flavor.
- Crunchy: Use crunchy peanut butter or add chopped peanuts.
- Salted: Finish with flaky sea salt.
- Extra peanut butter: Make the filling slightly thicker for a more generous center.
- Storage: Refrigerate for up to 2 weeks.
- Freezing: Freeze for up to 3 months.
Frequently Asked Questions
1. Can I use almond butter instead?
Yes. Almond, cashew, or sunflower seed butter can all be used.
2. Can I make these sugar-free?
Yes. Use sugar-free chocolate and a powdered zero-sugar sweetener in the filling.
3. Why is coconut oil added to the chocolate?
It helps create a smooth, glossy chocolate shell that sets nicely when chilled.
4. Can I use natural peanut butter?
Yes, but stir it very well first so the oil is evenly incorporated.
5. Do peanut butter cups need to be refrigerated?
For the firmest texture, yes. Refrigeration also helps keep the chocolate shell from becoming too soft.